Introduction
You’ve decided to get a tattoo in Bali. Maybe it’s your first, maybe your fifteenth. Either way, the days leading up to your session make a real difference — to how the tattoo turns out, how much it hurts, and how well it heals in Bali’s tropical climate.
We’ve watched hundreds of clients walk through our Seminyak studio, some so well-prepared their session flew by comfortably, others struggling because they skipped simple preparation steps. This guide brings together everything you need to know: from the research you should do three weeks out, to the moment you sit down in the artist’s chair.
It’s structured chronologically so you can follow it as a timeline. If your session is next month, start at the top. If it’s tomorrow, jump to the “Day Before” and “Day Of” sections.
Here’s what we’ll cover:
- What to research 3-4 weeks before booking
- How to plan your design and communicate it clearly
- Skin and body preparation the week before
- The day-before checklist
- Day-of essentials — what to bring, what to wear, what to eat
- Mental preparation for the pain
- What happens right after the needle stops
Let’s start with the biggest decision: choosing your studio.
3-4 Weeks Before: Research Phase
Good tattoos start weeks before the needle touches your skin. Rushed decisions produce rushed results — and permanent regrets.
Research the Studio Thoroughly
Not all tattoo studios in Bali are created equal. Some follow international hygiene standards; others cut corners in ways that can affect your health and the quality of your tattoo.
What to check:
- Google reviews — Look for 100+ reviews with recent dates, detailed feedback, and responsive owner replies
- Portfolio depth — The studio should have a proper portfolio (not just Instagram) showing multiple styles and, ideally, healed work
- Sterilization standards — Look for mentions of autoclaves, single-use needles, and disposable equipment
- Location and licensing — Legitimate studios operate in commercial spaces with visible business licenses
If you want a systematic framework, read our complete guide on how to choose a tattoo studio in Bali — it walks you through the 12 criteria that separate great studios from average ones.
Choose the Right Artist for Your Style
A studio can have great sterilization but wrong artistic fit. Different artists specialize in different styles:
- Fine line and minimalist — Delicate, precise work
- Blackwork — Bold saturation, strong contrast
- Realism — Photo-realistic detail, portraits
- Traditional / Neo-traditional — Bold colors, classic imagery
- Cover-ups — Requires strategic thinking about hiding existing ink
Match the artist’s demonstrated specialty to your design. A brilliant blackwork artist may not be the right choice for a delicate fine-line piece, and vice versa.
Book Your Consultation and Session in Advance
Bali’s better studios book out days or weeks ahead, especially during peak season (June-September, December-January). Walking in expecting same-day work at a top studio rarely succeeds.
What to do:
- Send inquiry emails 3-4 weeks out with your design idea, rough size, and travel dates
- Ask about consultation availability
- Confirm pricing structure and deposit requirements (most reputable studios, including Utopia Ink Bali, require a non-refundable deposit to secure your appointment — this deposit applies toward your final tattoo cost)
- Book both consultation and session slots
If you’re planning a large piece (sleeves, back pieces), remember these typically require multiple sessions — plan your Bali trip accordingly, or accept starting the piece and completing it later at home.

2-3 Weeks Before: Design Planning
Once your studio is chosen, focus shifts to your actual tattoo design.
Develop Your Design Concept Clearly
Don’t arrive with a vague idea and expect the artist to invent something perfect on the spot. The clearer your concept, the closer the final result matches your vision.
Bring these to your consultation:
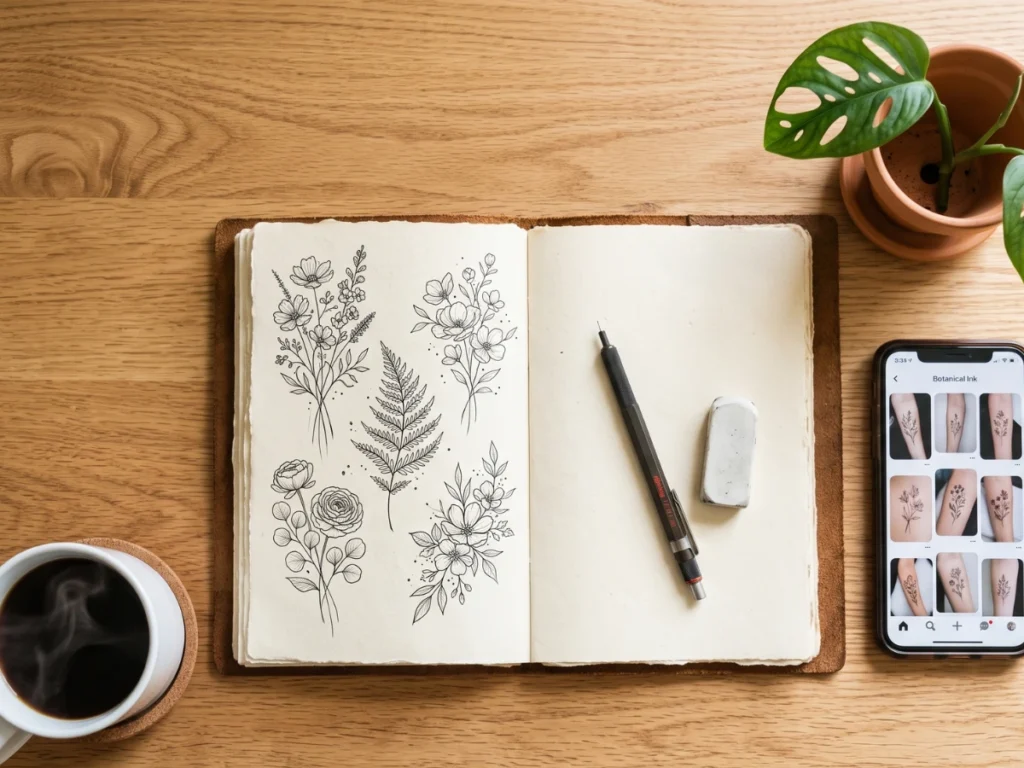
- Reference images (multiple angles, examples, inspirations) — Pinterest boards work well
- Sketch or written description of your idea
- Meaningful context — What does this design represent? This helps the artist personalize it
- Preferred style examples — Show artists you admire and pieces you love
Don’t:
- Copy another artist’s exact tattoo (bring inspiration, not direct copies)
- Insist on details that don’t work at the size you want (fine detail requires larger size)
- Make major design decisions during your session — locking design during consultation is standard
Plan Size and Placement Realistically
Bigger isn’t always better. Smaller isn’t always subtle. Placement affects visibility, healing, and how the tattoo ages.
Placement considerations for Bali:
- Areas exposed to sun (forearms, calves, neck) — Fade faster; need diligent sunscreen application after healing
- Areas that will be underwater (feet, ankles) — Healing takes longer if you’re beach-focused
- First-timer friendly zones — Upper arm, thigh, ribs (lower), calf
- More painful zones — Ribs (upper), spine, sternum, feet, hands, elbows/knees
- Aging considerations — Skin that stretches (belly, biceps, upper arms) can distort tattoos over decades
For minimalist or small designs, our small size tattoo service covers most straightforward placements. For medium projects (forearm bands, thigh pieces), see our medium size tattoo service. For substantial work (sleeves, back pieces), our large size tattoo service walks you through what to expect.
1 Week Before: Body & Skin Preparation
The final week is about getting your body — specifically your skin — in prime condition for tattooing.
Protect Your Skin from Sun
If you’re already in Bali or arriving early, this is critical. Do not sunbathe or get sunburned in the days leading up to your tattoo.
Why it matters:
- Sunburned skin can’t be tattooed safely
- Tanned skin makes fine-line and detail work harder
- Peeling skin from sunburn disrupts ink placement
- Recovery is compromised
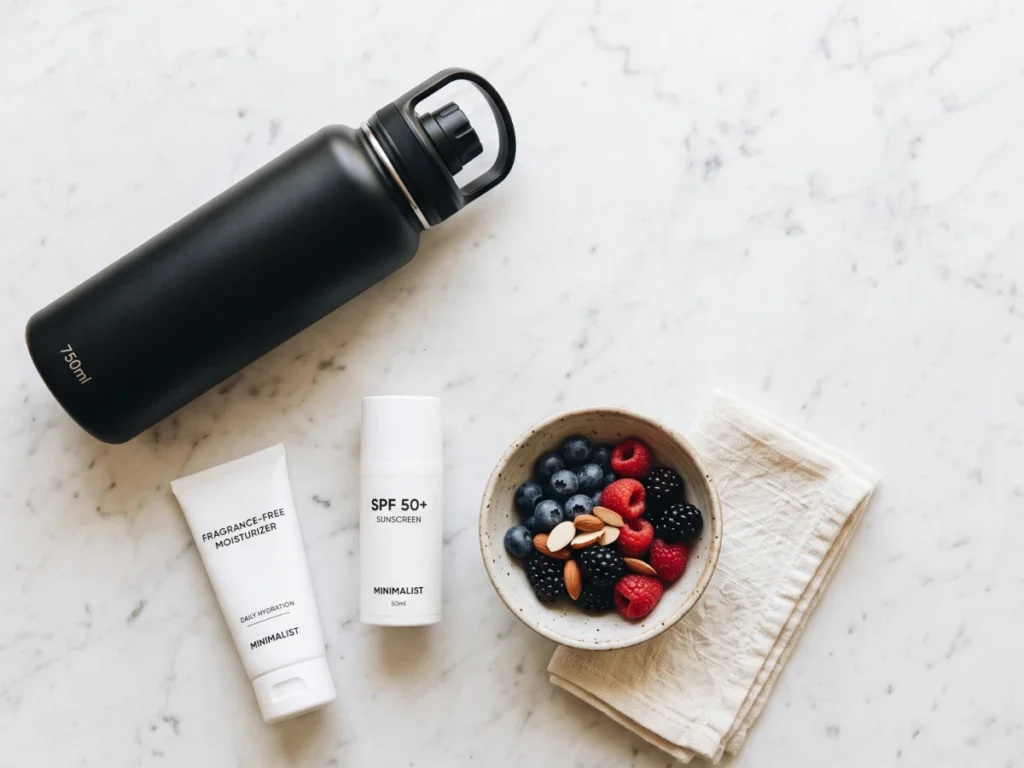
If you’re planning beach days plus a tattoo, schedule tattoo BEFORE the intensive sun exposure, not after. Or use SPF 50+ religiously in the week leading up.
Hydrate Consistently
Healthy, hydrated skin holds ink better and heals faster.
Daily habits for the week before:
- Drink 2-3L of water per day (more in Bali’s heat)
- Moisturize your skin daily with fragrance-free lotion
- Avoid harsh scrubs or aggressive exfoliation on the tattoo area
- If you drink alcohol, cut it back or eliminate it entirely in the last 48-72 hours
Dehydrated skin is harder to tattoo cleanly, and you’ll feel more pain during the session.
Sleep Well and Eat Well
Rested, well-fed clients handle their sessions dramatically better than exhausted, hungry ones.
- Aim for 7-9 hours of sleep the 2-3 nights before your session
- Eat balanced meals — protein, vegetables, complex carbs
- Avoid crash diets in the week before (blood sugar crashes during long sessions are miserable)
If you’re mid-Bali holiday and your body is stressed from travel, party nights, or dietary changes, give yourself a “reset day” before your tattoo — hydrate, sleep, eat properly.
Avoid Blood Thinners
Blood thinners cause excess bleeding during tattooing, which affects visibility and ink saturation.
Avoid for 24-48 hours before:
- Alcohol (this is the big one)
- Aspirin and NSAIDs (ibuprofen, naproxen) — unless medically necessary
- Recreational drugs
- Excessive caffeine on the day-of
If you take blood thinners for medical reasons, discuss with your artist during consultation — they’ll adjust technique accordingly, but need to know.
The Day Before Your Session
Twenty-four hours out. Final preparations.
Final Skin Check
- No sunburn on the tattoo area
- No cuts, scrapes, or active skin issues on the area
- No fresh shaving cuts (artists shave the area, but incidental cuts are problematic)
- Skin is well-moisturized but not oily/greasy
If any issue emerges (unexpected skin reaction, sudden illness), contact your studio immediately. Rescheduling is far better than tattooing on compromised skin.
Confirm Your Booking Details
- Session time and location
- Confirmed artist (specific person, not just the studio)
- Design status (final approval or adjustments needed at start of session)
- Estimated duration
- Payment method accepted
- Deposit paid (if required)
Pack Your Session Bag
Prepare what you’ll bring, so morning-of is stress-free:
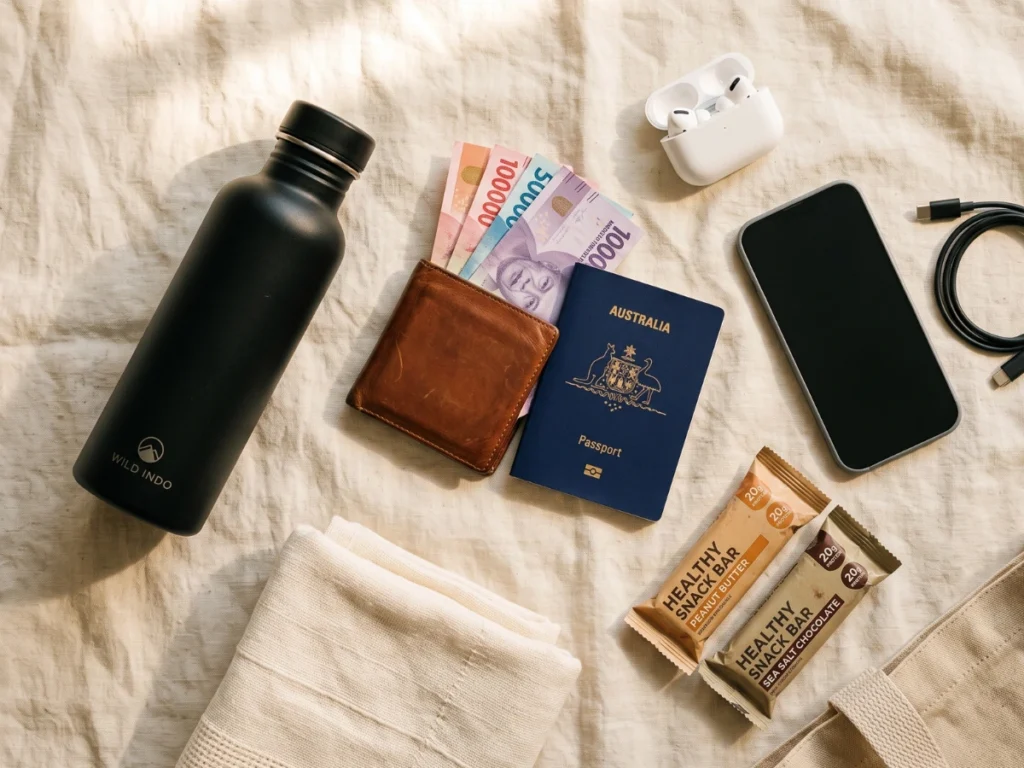
- Government-issued photo ID (18+ required for tattoos in Bali)
- Cash and/or card for payment
- Water bottle (large — you’ll need it)
- Snack — protein bar, fruit, nuts (for sessions over an hour)
- Phone charger and entertainment (music, podcast, book, downloaded show)
- Reference images on your phone as backup
- Small towel or blanket for comfort (studios are often air-conditioned)
Get Adequate Rest
Go to bed early. Alcohol-free evening. Set your alarm early enough that you’re not rushed in the morning.
The Day Of Your Session
The morning your tattoo happens.
Eat a Substantial Meal 60-90 Minutes Before
A full session on an empty stomach is a bad idea. Blood sugar drops, pain tolerance plummets, and clients occasionally faint.
Ideal pre-session meal:
- Protein source (eggs, chicken, tempeh, tofu)
- Complex carbohydrates (rice, oats, whole-grain bread)
- Vegetables or fruit
- Water — not just coffee
Avoid greasy or overly heavy meals that sit uncomfortably.
Wear Comfortable, Session-Appropriate Clothing
Your clothing needs to give the artist easy access to the tattoo area without you having to strip awkwardly.
Guidelines by placement:
- Arm tattoos — Tank top or short sleeves
- Leg tattoos — Shorts, or loose pants that roll up easily
- Back tattoos — Front-buttoning shirt, sports bra for females
- Ribs / torso — Loose top that lifts, or one you don’t mind removing
- Foot / ankle — Sandals or slip-on shoes
Choose clothes you don’t mind getting ink on (some ink transfer is normal during long sessions). Dark colors hide any accidental staining.
Bring layers — studios are often kept cool for artist comfort, but you may feel colder sitting still for hours.
Plan Your Route to the Studio
Study your route the night before. In Bali’s variable traffic conditions, budget more time than Google Maps predicts.
If you’re staying in Seminyak’s beachside hotel zone: Utopia Ink Bali is walking distance from most premium hotels — we’re on Jl. Kayu Jati, immediately next to Motel Mexicola, roughly 5-15 minutes on foot from Alila Seminyak, Hotel Indigo, Desa Potato Head Bali, The Legian, W Bali, and Grand Mercure. Walking is often faster than driving during peak hours.
If you’re staying elsewhere in Bali: Taxi via Grab or Gojek works reliably. Search “Utopia Ink Bali” in the app. Typical fares from Kuta or Legian: IDR 30,000-50,000. From Canggu or Ubud, budget 30-60 minutes travel time depending on traffic.
If you’re renting a scooter: Parking is available near the studio on Jl. Kayu Jati.
Arrive 15 Minutes Early
Being late is stressful and often shortens your session. Arriving early gives you time to:
- Complete any final paperwork (consent forms, medical history)
- Use the restroom (you’ll want to before starting)
- Review the final stencil placement with your artist
- Ask any last questions
- Calm your nerves
Communicate Your Preferences Clearly
Once you’re in the chair, the artist is executing what you agreed. But the small details matter:
- Music or silence? Most studios let you choose
- Talkative or quiet session? Say so
- Prefer breaks or push through? Communicate your energy
- Feeling faint or need water? Say something immediately — don’t try to be tough
The best sessions happen when clients feel comfortable communicating throughout.
During Your Session: Mental Preparation
Tattoos hurt. Everyone experiences pain differently, and no amount of preparation eliminates it entirely — but mindset makes a real difference.
Manage Your Expectations
Tattoos are uncomfortable, not agony. Different placements hurt differently:
- Low pain zones — Upper arm, upper thigh, calf
- Medium pain zones — Forearm, shoulder blade, lower back
- High pain zones — Ribs, sternum, spine, feet, hands, elbows/knees, neck
Even in high-pain zones, most clients handle sessions well. Your body releases endorphins after the first 15-20 minutes, and the pain plateaus rather than intensifies.
Breathing Techniques
Slow, controlled breathing genuinely helps with pain management.
- Box breathing: 4-count in, 4-count hold, 4-count out, 4-count hold
- Focus on breathing rather than the sensation
- If you feel overwhelmed, tell your artist — a 60-second pause resets your system
Trust Your Artist’s Process
Once the tattoo starts, resist the urge to micromanage. Your artist has planned the session:
- Line work first, shading and color after
- Working section by section
- Pausing to check progress and rest
- Adjusting technique based on your skin’s response
If genuine concerns arise (a design element looks wrong, you’re in serious distress, you need a real break), speak up. Otherwise, trust the process you agreed to in consultation.
Immediately After Your Session
The session ends. Now what?
Listen Carefully to Aftercare Instructions
Your artist will:
- Clean and apply healing ointment to the finished tattoo
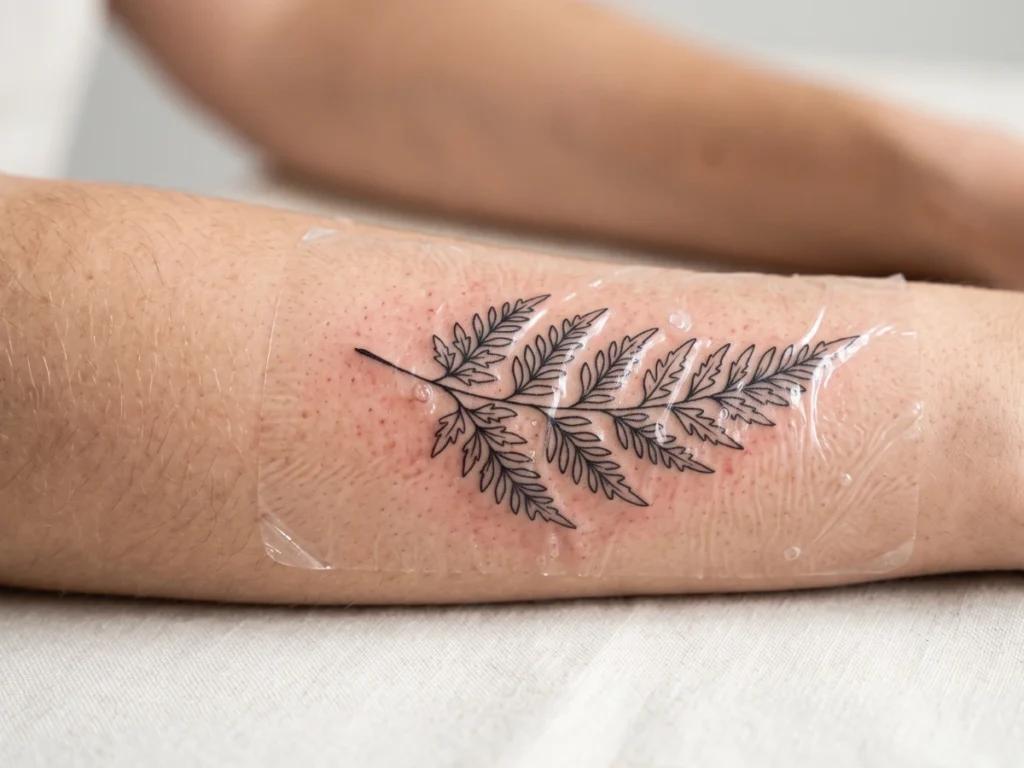
- Cover it with a protective wrap or film
- Give you specific timing for wrap removal (typically 2-24 hours)
- Provide written or digital aftercare instructions
Ask questions before you leave. Once you’re out the door, small confusions can lead to healing mistakes.
Plan Your Immediate Next 24 Hours
The fresh tattoo needs protection. Plan accordingly:
- No swimming, saunas, or hot tubs
- No direct sun exposure
- No tight clothing over the area
- No alcohol (impacts healing)
- No strenuous exercise
- Minimize touching the area
For complete healing guidance — especially specific to Bali’s tropical climate — read our complete tattoo aftercare guide for Bali. It covers healing timelines, product recommendations, and travel-specific complications.
Frequently Asked Questions
How far in advance should I book a tattoo appointment in Bali?
For quality studios, book 2-4 weeks in advance. During peak season (June-September, December-January), book earlier — sometimes 6-8 weeks. Same-day walk-ins are only reliable for small pieces at studios you’ve already vetted.
Should I eat before getting a tattoo?
Yes, absolutely. Eat a substantial, balanced meal 60-90 minutes before your session. Empty-stomach tattoos lead to blood sugar crashes, increased pain sensitivity, and occasional fainting.
Can I drink alcohol the day before my tattoo?
Avoid alcohol for at least 24-48 hours before your session. Alcohol thins your blood, causing excess bleeding that affects ink saturation and visibility during tattooing.
What should I wear to a tattoo session?
Choose comfortable clothing that gives the artist easy access to the tattoo area without you having to strip awkwardly. Wear layers — studios are typically air-conditioned. Choose colors you don’t mind getting ink on.
Is it okay to take painkillers before my tattoo?
Avoid blood-thinning painkillers (aspirin, ibuprofen, naproxen) for 24-48 hours before. Paracetamol/acetaminophen is generally acceptable if you need something. Discuss any medications with your artist during consultation.
How much water should I drink before my tattoo?
Aim for 2-3 liters per day in the week leading up to your session. Well-hydrated skin holds ink better and heals faster. On the day of, drink water in the morning — but don’t drown yourself right before starting.
What if I get sunburned before my tattoo?
Contact your studio immediately. Sunburned skin can’t be tattooed safely — the area needs to fully heal first. Most studios will reschedule without penalty for medical reasons.
Should I shave the tattoo area myself?
No — your artist will do this at the studio using sterile disposable razors. Home shaving creates micro-cuts that complicate the session.
Can I bring a friend to my tattoo appointment?
Most studios allow one support person, but check the studio’s policy. Some limit visitors during the actual session for hygiene reasons. Ask when booking.
How long will my tattoo session take?
Depends on size, detail, and placement. Rough guidelines: small pieces 30-90 minutes, medium pieces 2-4 hours, large pieces 4-8 hours (often split across multiple sessions). Your artist gives an estimate during consultation.
What if I need to cancel or reschedule?
Contact your studio as early as possible. Most studios have reasonable rescheduling policies for medical reasons or emergencies, but deposits may be forfeited for last-minute cancellations. Communicate honestly.
Should I do anything special for a cover-up tattoo appointment?
Cover-ups require longer consultation and often longer sessions. Follow standard prep guidelines, but expect the artist to spend more time on design planning. Review our cover up tattoo service for what to expect.
What about touch-ups and fill-ins?
Preparation for touch up tattoos and fill in tattoos follows the same guidelines. These sessions are typically shorter, but the prep matters just as much — hydration, avoiding alcohol, well-rested body.
Making the Most of Your Session
Preparation isn’t just about avoiding problems. It’s about maximizing the experience.
When you arrive rested, hydrated, well-fed, comfortably dressed, mentally prepared, and clear on your design — the session becomes what it’s supposed to be: a memorable, meaningful moment. You’re not white-knuckling through discomfort. You’re present with the process, watching art emerge on your skin.
The clients who follow this guide consistently report better experiences than those who wing it. Better sessions, better tattoos, better healing, better memories.
If you’re planning your session at Utopia Ink, our team is available for free consultations. We’re happy to answer any preparation-specific questions before your booking date. And if you’re still choosing between studios, our safety guide and studio selection guide will help you make the right decision.
Whatever studio you choose — prepare well. Your future tattoo self will thank you.
